The program's linearisation process improves the ink preset quality on your offset press over time. As more jobs are printed, and hence available for linearization, as better the press calibration curve is adopted to the press characteristic for an ink and substrate combination.
As pointed out in the chapter 2.2. Read Back Job Data , the linearization job is either created automatically or manually when the software runs in ink-preset only mode.
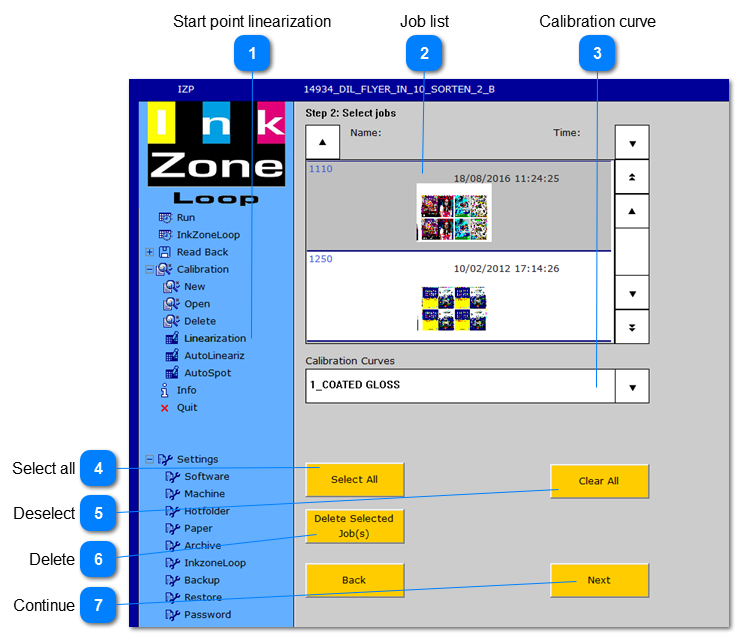
Start point linearization
Start from the menu on the left the linearization process. After selecting CMYK or Spot choose a calibration curve to get into this window here.
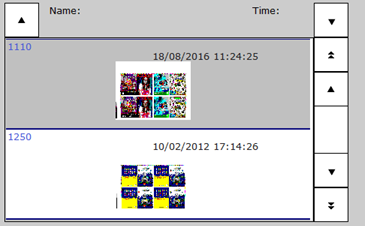
All jobs from the selected calibration curve are listed. Remove jobs from the selection by clicking on the preview. This changes the background to white or then back to grey.